How to setup a CNAME record for your domain using the DNS editor
CNAME (Canonical Name) records specify that a domain name is an alias of another “canonical” domain name. It can be used in different ways.
For example: It can be used to point multiple CNAMEs to one A Record (IP) allowing easy management. Or you can also point a domain or subdomain to some external domain (like in Blogger integration). You can Add/Update CNAME Records for your domain name from the free DNS management panel available with DomainKing.NG.
To Add or Update the CNAME Records of your domain, you need to do the following:
1). Login to DomainKing Client panel.
2). In your client area click on “Domains” and then “My Domains” from the top menu bar.

3). Click on the “Manage” icon (this looks like a wrench) located to the right of your domain name.
![]()
4). On the left side, click on DKNG DNS Manager.

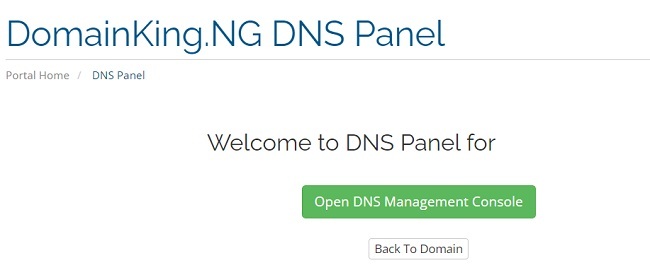
5). Click on Open DNS Management Console.
6). Now you are inside the DNS Panel. Select the CNAME from the drop-down menu as shown in the below screenshot.
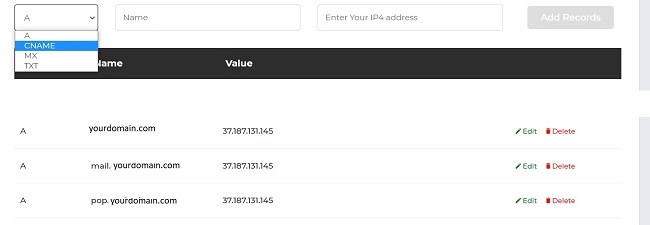
7). There you need to enter the following details:
Name: In this field type “www” or any other subdomain that you want to point to. For example: If you want to point abc.yourdomain.com then you need to enter “abc”.
Enter Your Domain Name: Enter the destination to which you want to point your host name. For example: If you want to point abc.yourdomain.com to xyz.yourdomain.com then in Value you need to enter “xyz” in this filed.

8). Please check your records once again and click on the “Add Records” button.
Congratulations! Your CNAME has now been added. Please wait for a few hours for the DNS settings to propagate over the internet & work properly.